
As with some of the other features covered in this guide, Virtual Desktops aren’t a new feature of Windows 11, having been introduced with the previous version of the OS. It has, however, been tweaked and upgraded for the latest version, with several features that are easy to miss.
In This Lesson…
Creating Virtual Desktops
Virtual Desktops are extremely useful if you often have to have several different apps open at the same time. A single desktop can soon become cluttered and difficult to navigate easily, but by splitting your working areas into two or more spaces, finding the apps you need quickly becomes so much easier.
1 – Creating a new desktop is easy. You can either hover the mouse pointer over the Task View icon (the white and grey overlapped squares) and then click the + button on the new desktop, or you can click on the icon to open Task View, and then choose to add a new desktop space. The keyboard shortcut to open and switch to a new Virtual Desktop is Windows + Ctrl + D.
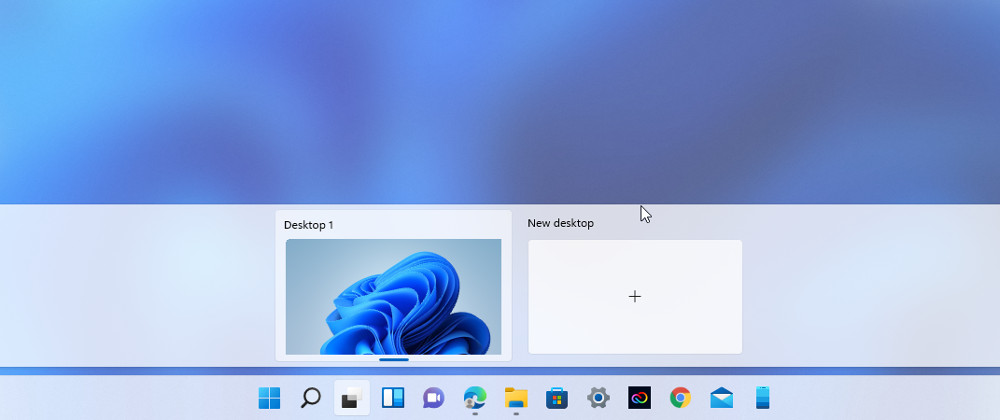
2 – You can rename your Virtual Desktops to make it easier to navigate them. Just right-click on any desktop in Task View and select “Rename”. Also in this menu is another option that makes it even easier to differentiate between desktops: Choose background. Each Virtual Desktop you create can have a different desktop wallpaper, so you can more easily see which desktop is active at any time.

Moving Apps Between Desktops
None of the apps and windows you have open on the main desktop will be open on the second one you just created. You can simply open the apps you want on the second desktop, while the second desktop is selected. Or you can move apps from the main desktop to the second desktop in Task View.
1 – Click on the Task View button while on the main desktop. You will see all currently open apps and windows displayed in the top part, and the virtual desktops in the bottom part.
2 – Click and drag any app or window from the top to the virtual desktop you want to add it to. You can also right-click on any of the apps or windows, and then select Move to > Desktop [number/name].

3 – If you want a certain app to appear on all desktops, right-click on the app in Task View, then choose “Show this app on all desktops”.
Closing Virtual Desktops
Virtual Desktops will not persist when you shut down your PC, so if you restart you will have to create the desktops again. If you choose to close a Virtual Desktop yourself (by clicking the X on the preview in the Task View), any apps you have open on the closed desktop will be moved to the main desktop.