
Entering all of the data you need into an Excel Worksheet is often the most time-consuming part of a task or project. You may be able to import data from elsewhere, but if not, using Flash Fill and Auto Fill can really help speed up data entry. Flash Fill, only available in Excel 2013 and later, is one of several tools designed to make using Excel a quicker and more streamlined process.
In This Lesson…
How to Use Flash Fill
The Flash Fill tool works by looking for patterns in your data, and then suggests a new data set based on the pattern. Flash Fill should be enabled by default in Excel 2013 or later, but if not you can enable it by going to File > Options > Advanced > Editing Options > Automatically Flash Fill.
1 – In this example, we will use the name data from the first two columns to complete the third column automatically with Flash Fill. Enter the required data into the first two columns.
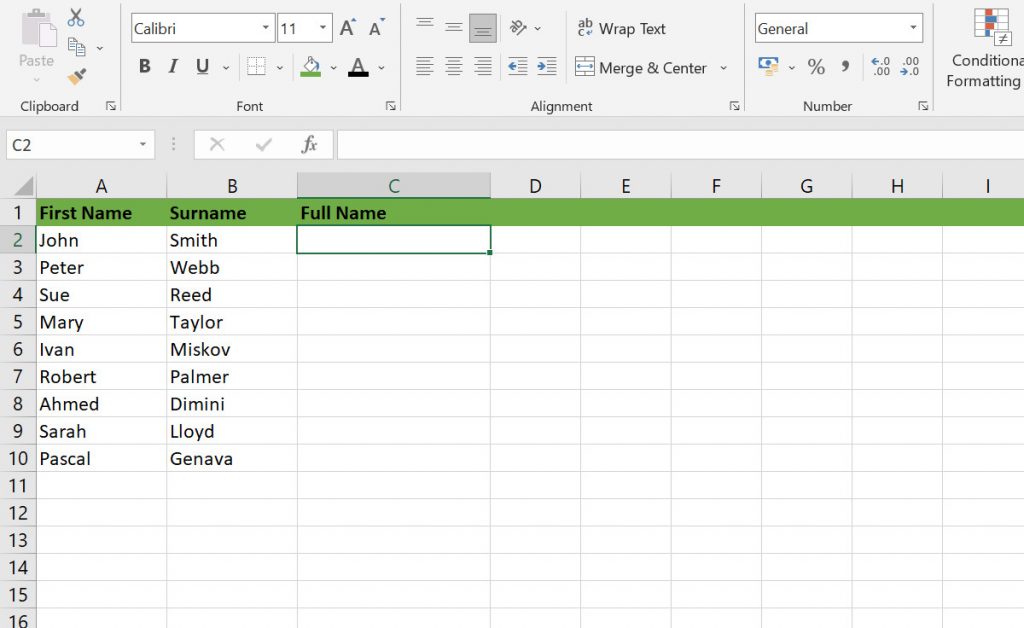
2 – In the third column, enter the first full name ‘John Smith’, and tap Return. As you begin writing the second full name, Excel recognises the pattern and suggests the data for the remainder of the cells in the column. Tap Return to accept the Flash Fill suggestion.
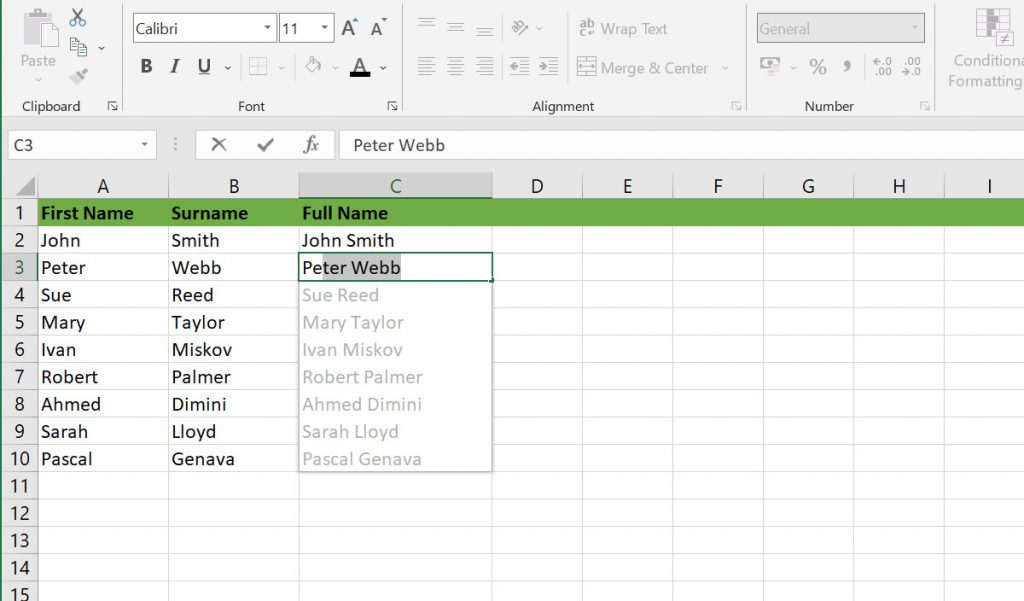
3 – You can also activate Flash Fill by pressing the shortcut Ctrl + E. Enter the first full name as above, and select it. Press Ctrl + E and the rest of the full name data is entered automatically.
Video – Watch Flash Fill in action
How to Use Auto Fill
Auto Fill is a similar tool, yet not quite the same. Auto Fill is more useful for quickly entering sequential data, such as a column of consecutive dates or account numbers.
1 – Enter the first date or number in the cell where the data needs to start. In this example, this is the number 1 in cell A1. Make sure the first cell is selected, then use the handle on the outline to drag the box down to cover all of the cells you need.
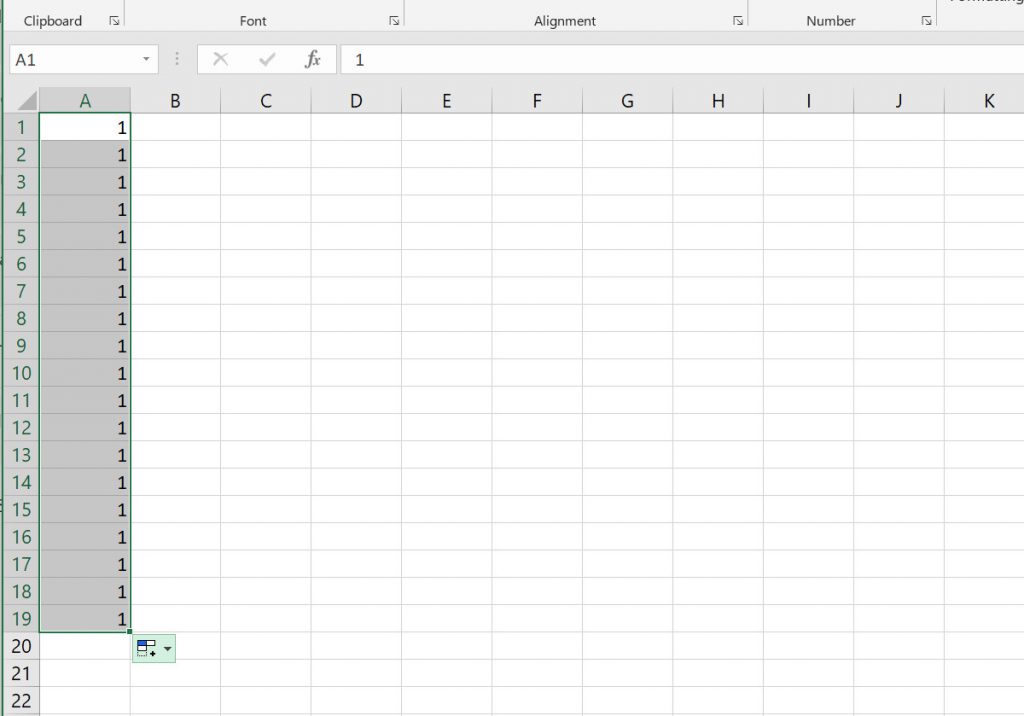
2 – Auto Fill will, by default, copy the number in the first cell into all of the subsequent cells. To change this to a sequence, click the Auto Fill options button and select ‘Fill Series”.

3 – If you want to Auto Fill a series of dates, enter at least the first two in the sequence (e.g., 01/01/22 and 02/01/22) and then select the second date. Use the handle to drag the box down to cover as many rows as you need, and then release.
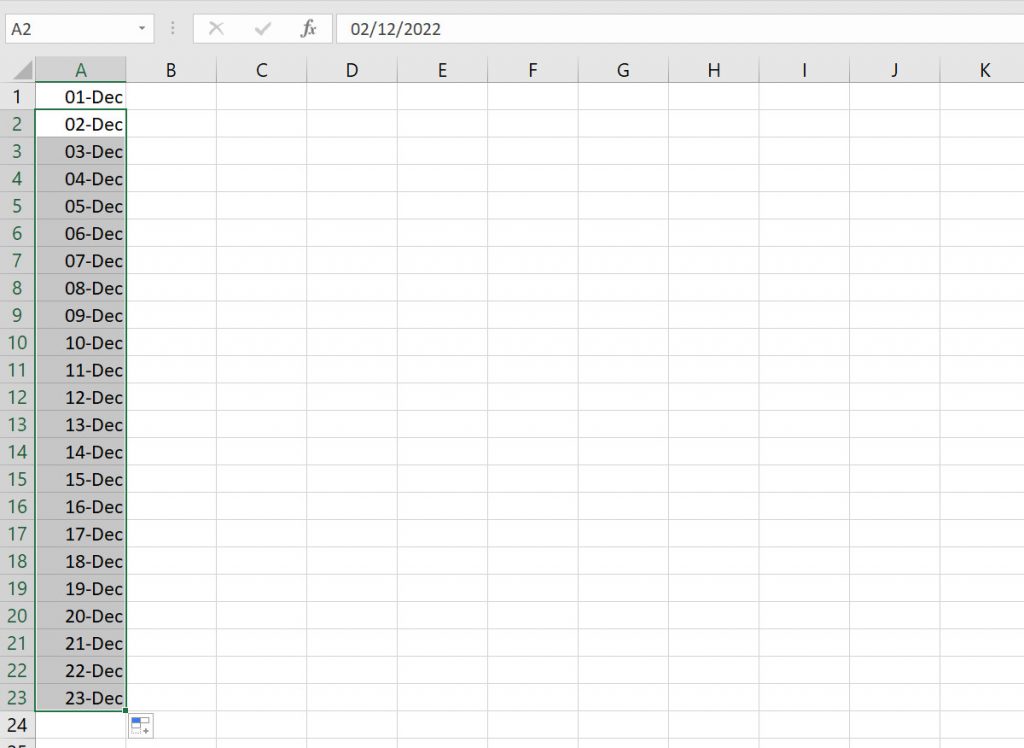
You can use Auto Fill to complete sequences and series of numbers, dates and other data horizontally in rows, as well as vertically in columns.
1 Comment
Pingback: 14 Brilliant Excel Tips and Tricks for Beginners - Novus Skills